


Chicken and Roasted Veggie Shawarma
A Mediterranean dish you can create in your own kitchen without having to spend $15 at a restaurant.
How many of you have felt like they have fallen in a rut with your eating habits? It happens to all of us from time to time. I’ve been doing a lot more cooking lately. I realized before I started the Clean, Burn, Shape Challenge that I was going out to eat a lot more than I thought. My bank account confirmed that for me. I felt that I was losing connection to my purpose. My stomach was feeling upset from all the heavy food I was eating. But that’s okay. We all fall off the wagon sometimes, and it’s in our control whether or not to get back on. For me, the constant bloating was enough to make a shift in my eating habits. I went back off gluten and dairy and since then, I have been feeling way better. My stomach feels lighter and I feel more connected with nature. Throughout the 10 days of the challenge, I made 100% of my meals from home and I felt like a bad ass! It feels so good for me to feel a connection with my food because this is my gift I get to share with the world, and I am so grateful for that!
When I went abroad a few years ago to Israel, one of my favorite dishes that we got to eat was Shawarma. Let me tell you, it was way better over there than you can find at any “fast food” Mediterranean restaurant. Yeah, they may seem “healthy”, but I read the ingredients on what they use at Naf Naf Grill and Roti Mediterranean Grill. I was extremely disappointed that both of them use soybean oil in all of their meat and some of their vegetables because it is one of the unhealthiest and most processed oils aside from rapeseed oil. But that’s another story that I will save for another time. I almost went there to save some time from all the meal prepping on Clean, Burn, Shape until I found this out. Luckily, I found a really simple homemade alternative that tastes wonderful. The best part is that it contains all clean ingredients including my homemade roasted red pepper hummus from my most recent cooking demo. I’m super excited to share with you my Homemade Chicken and Roasted Veggie Shawarma.
Ingredients:
1 lb boneless skinless chicken breasts or thighs
½ red cabbage, thinly sliced
½ jar of bread and butter pickle chips, chopped
4 oz portobello mushrooms, chopped
½ yellow onion, chopped
10 oz spinach, wilted
6 tbsp extra virgin olive oil divided
3-4 large cloves garlic, minced
2 tsp cumin
2 tsp paprika
1 tsp allspice
3/4 tsp turmeric
1/4 tsp garlic powder
1/4 tsp cinnamon
1 pinch cayenne
Salt and black pepper
·Nonstick cooking spray
** One batch of roasted red pepper hummus (homemade or store bought)
** Recipe for my homemade hummus can be found here or check out my cooking demo here
** Note: I put the Shawarma seasonings on my vegetables, but you can put it on your chicken as well. If you decide to season your chicken, marinate them in a plastic Ziploc bag with the same seasonings listed above with 2-3 Tbsp. olive oil for 2-3 hours before cooking.
Directions:
1) Preheat the oven to 350 Degrees F. Chop your veggies (except the spinach) plus your garlic and put them on a foiled baking sheet with 2-3 Tbsp. olive oil. Pour seasoning on the veggies and mix well.
2) Spray the baking sheet with nonstick cooking oil and place your chicken on a separate foiled baking sheet with hummus (I like to crust my chicken with it).
3) Bake for 30-35 minutes until chicken is cooked through and veggies are slightly browned
4) Once done, cut the chicken into small pieces and sauté for 3-5 minutes (although I skipped that step for time’s sake).
5) In a separate pan, wilt your spinach and season with some salt and pepper.
6) Combine veggies, chicken, and spinach into one pan and stir for 2-3 minutes.
7) Top with more hummus if desired and enjoy!

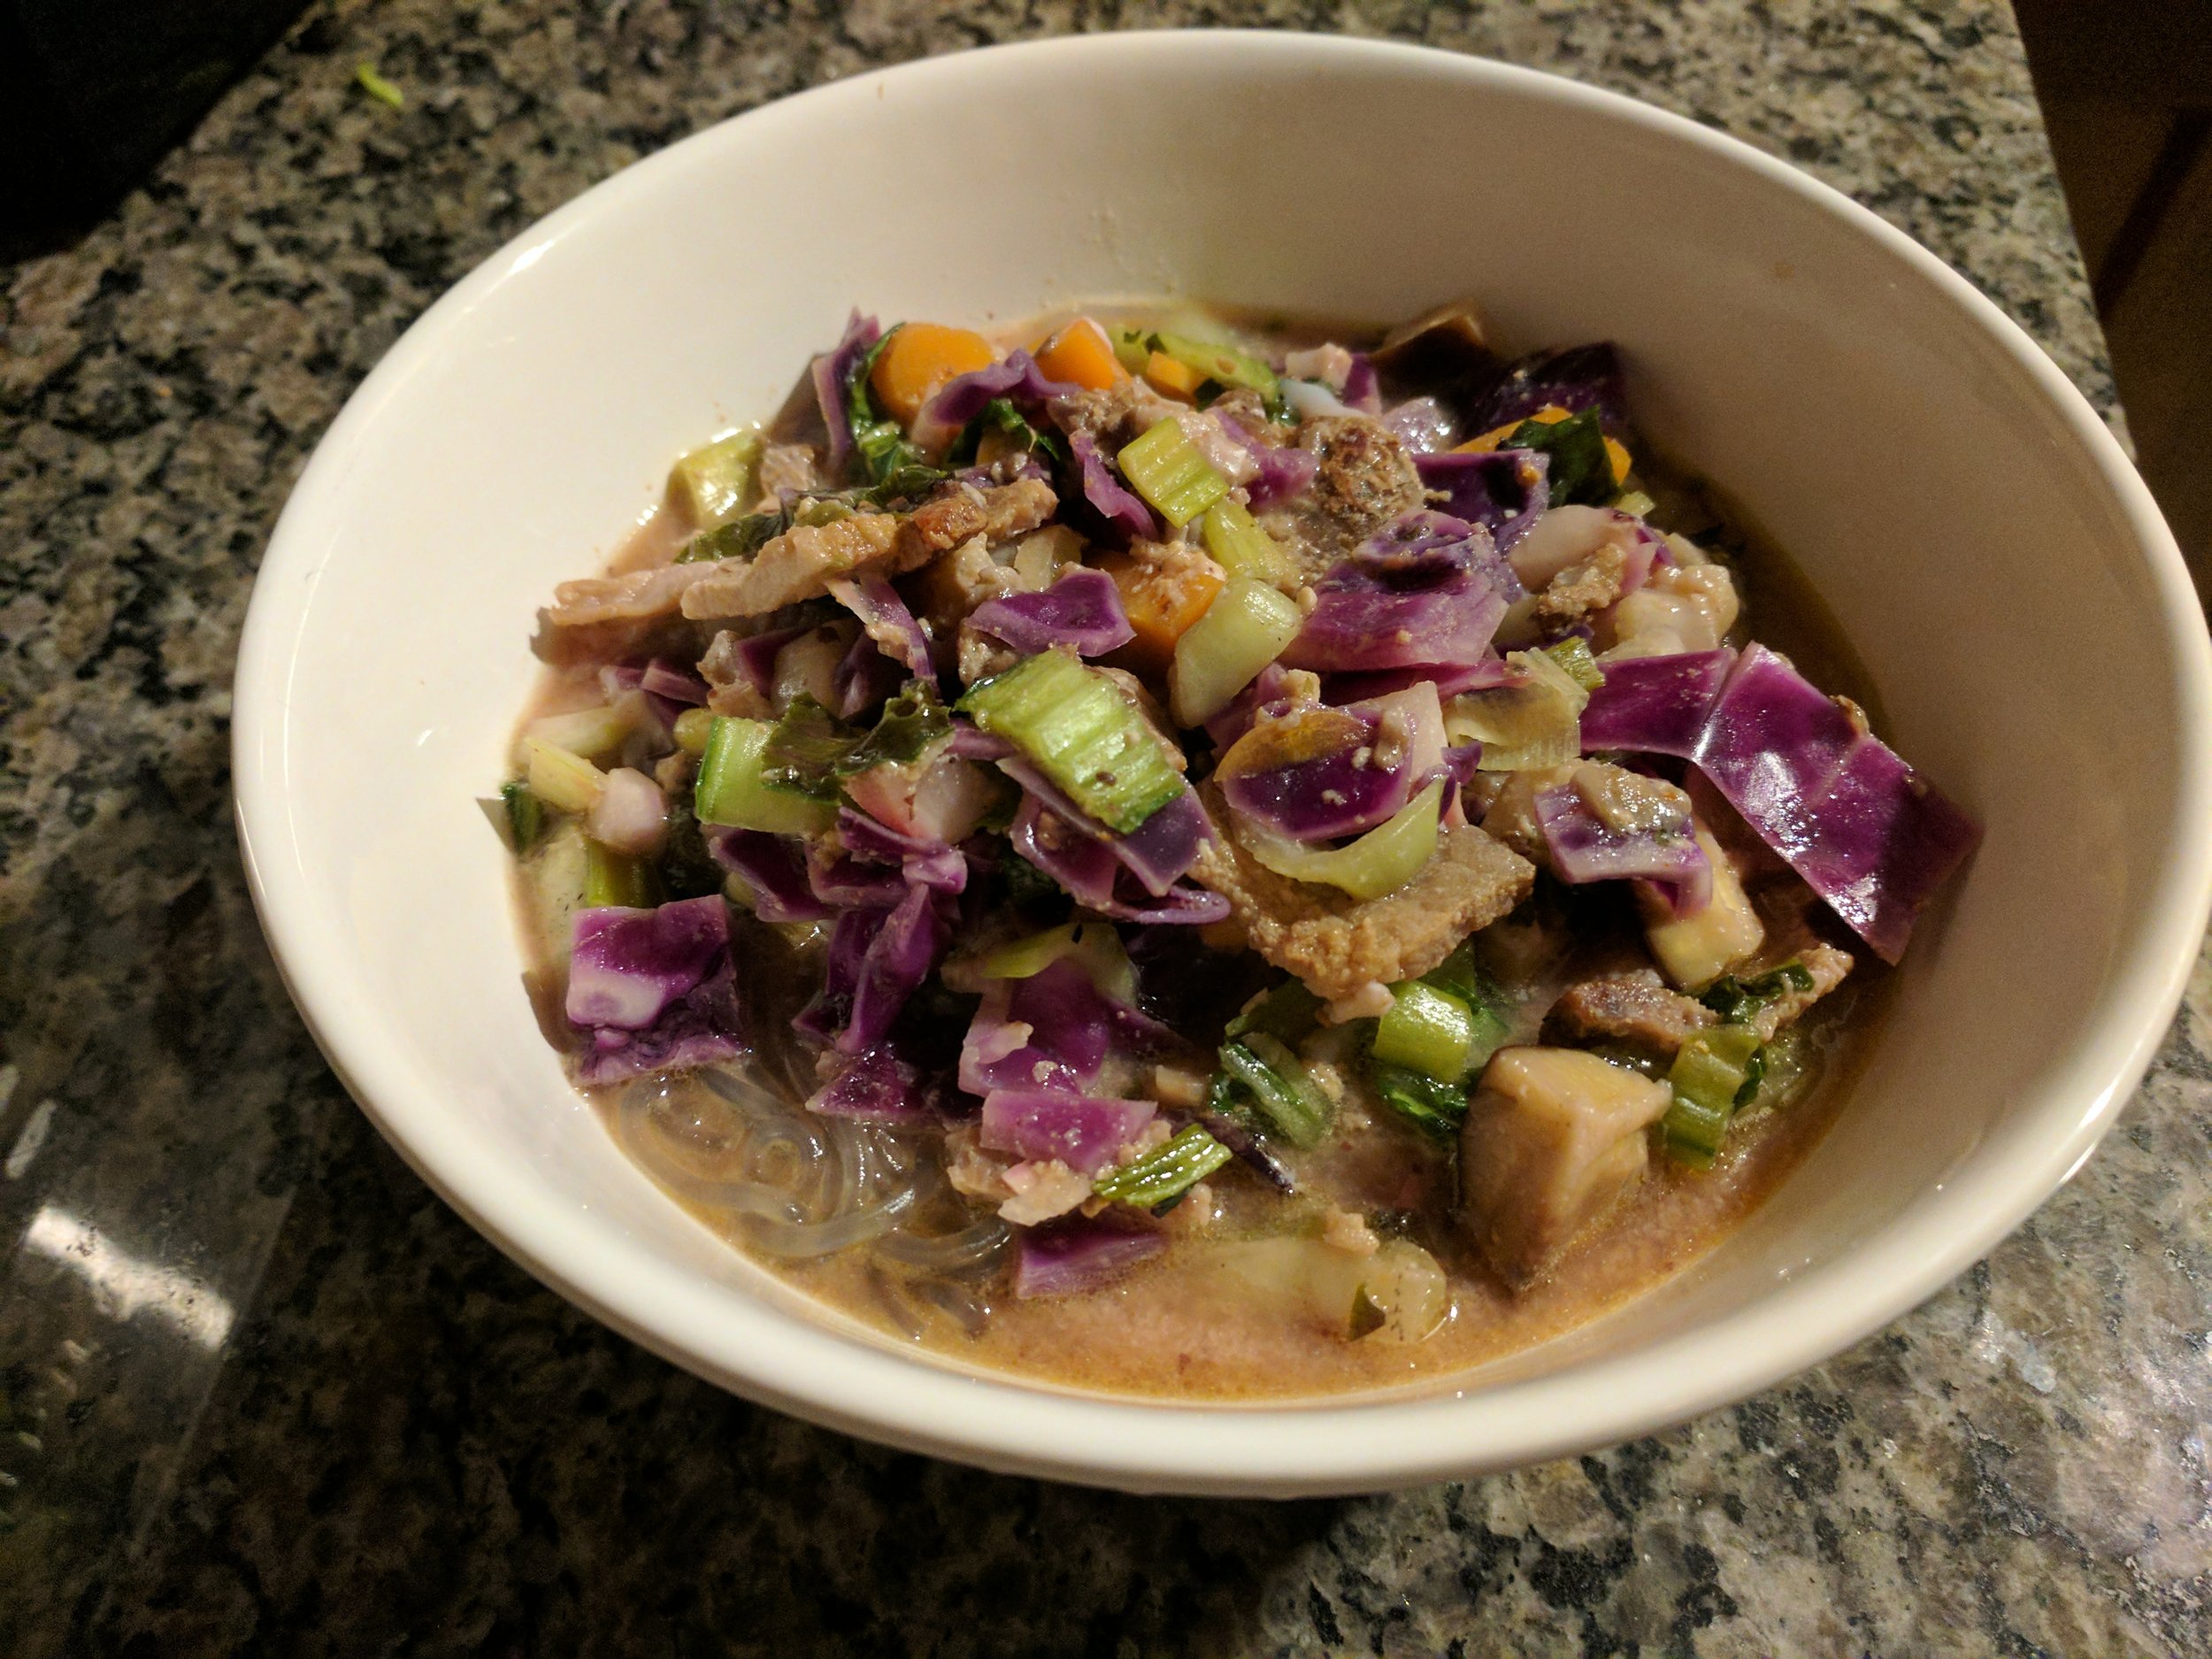
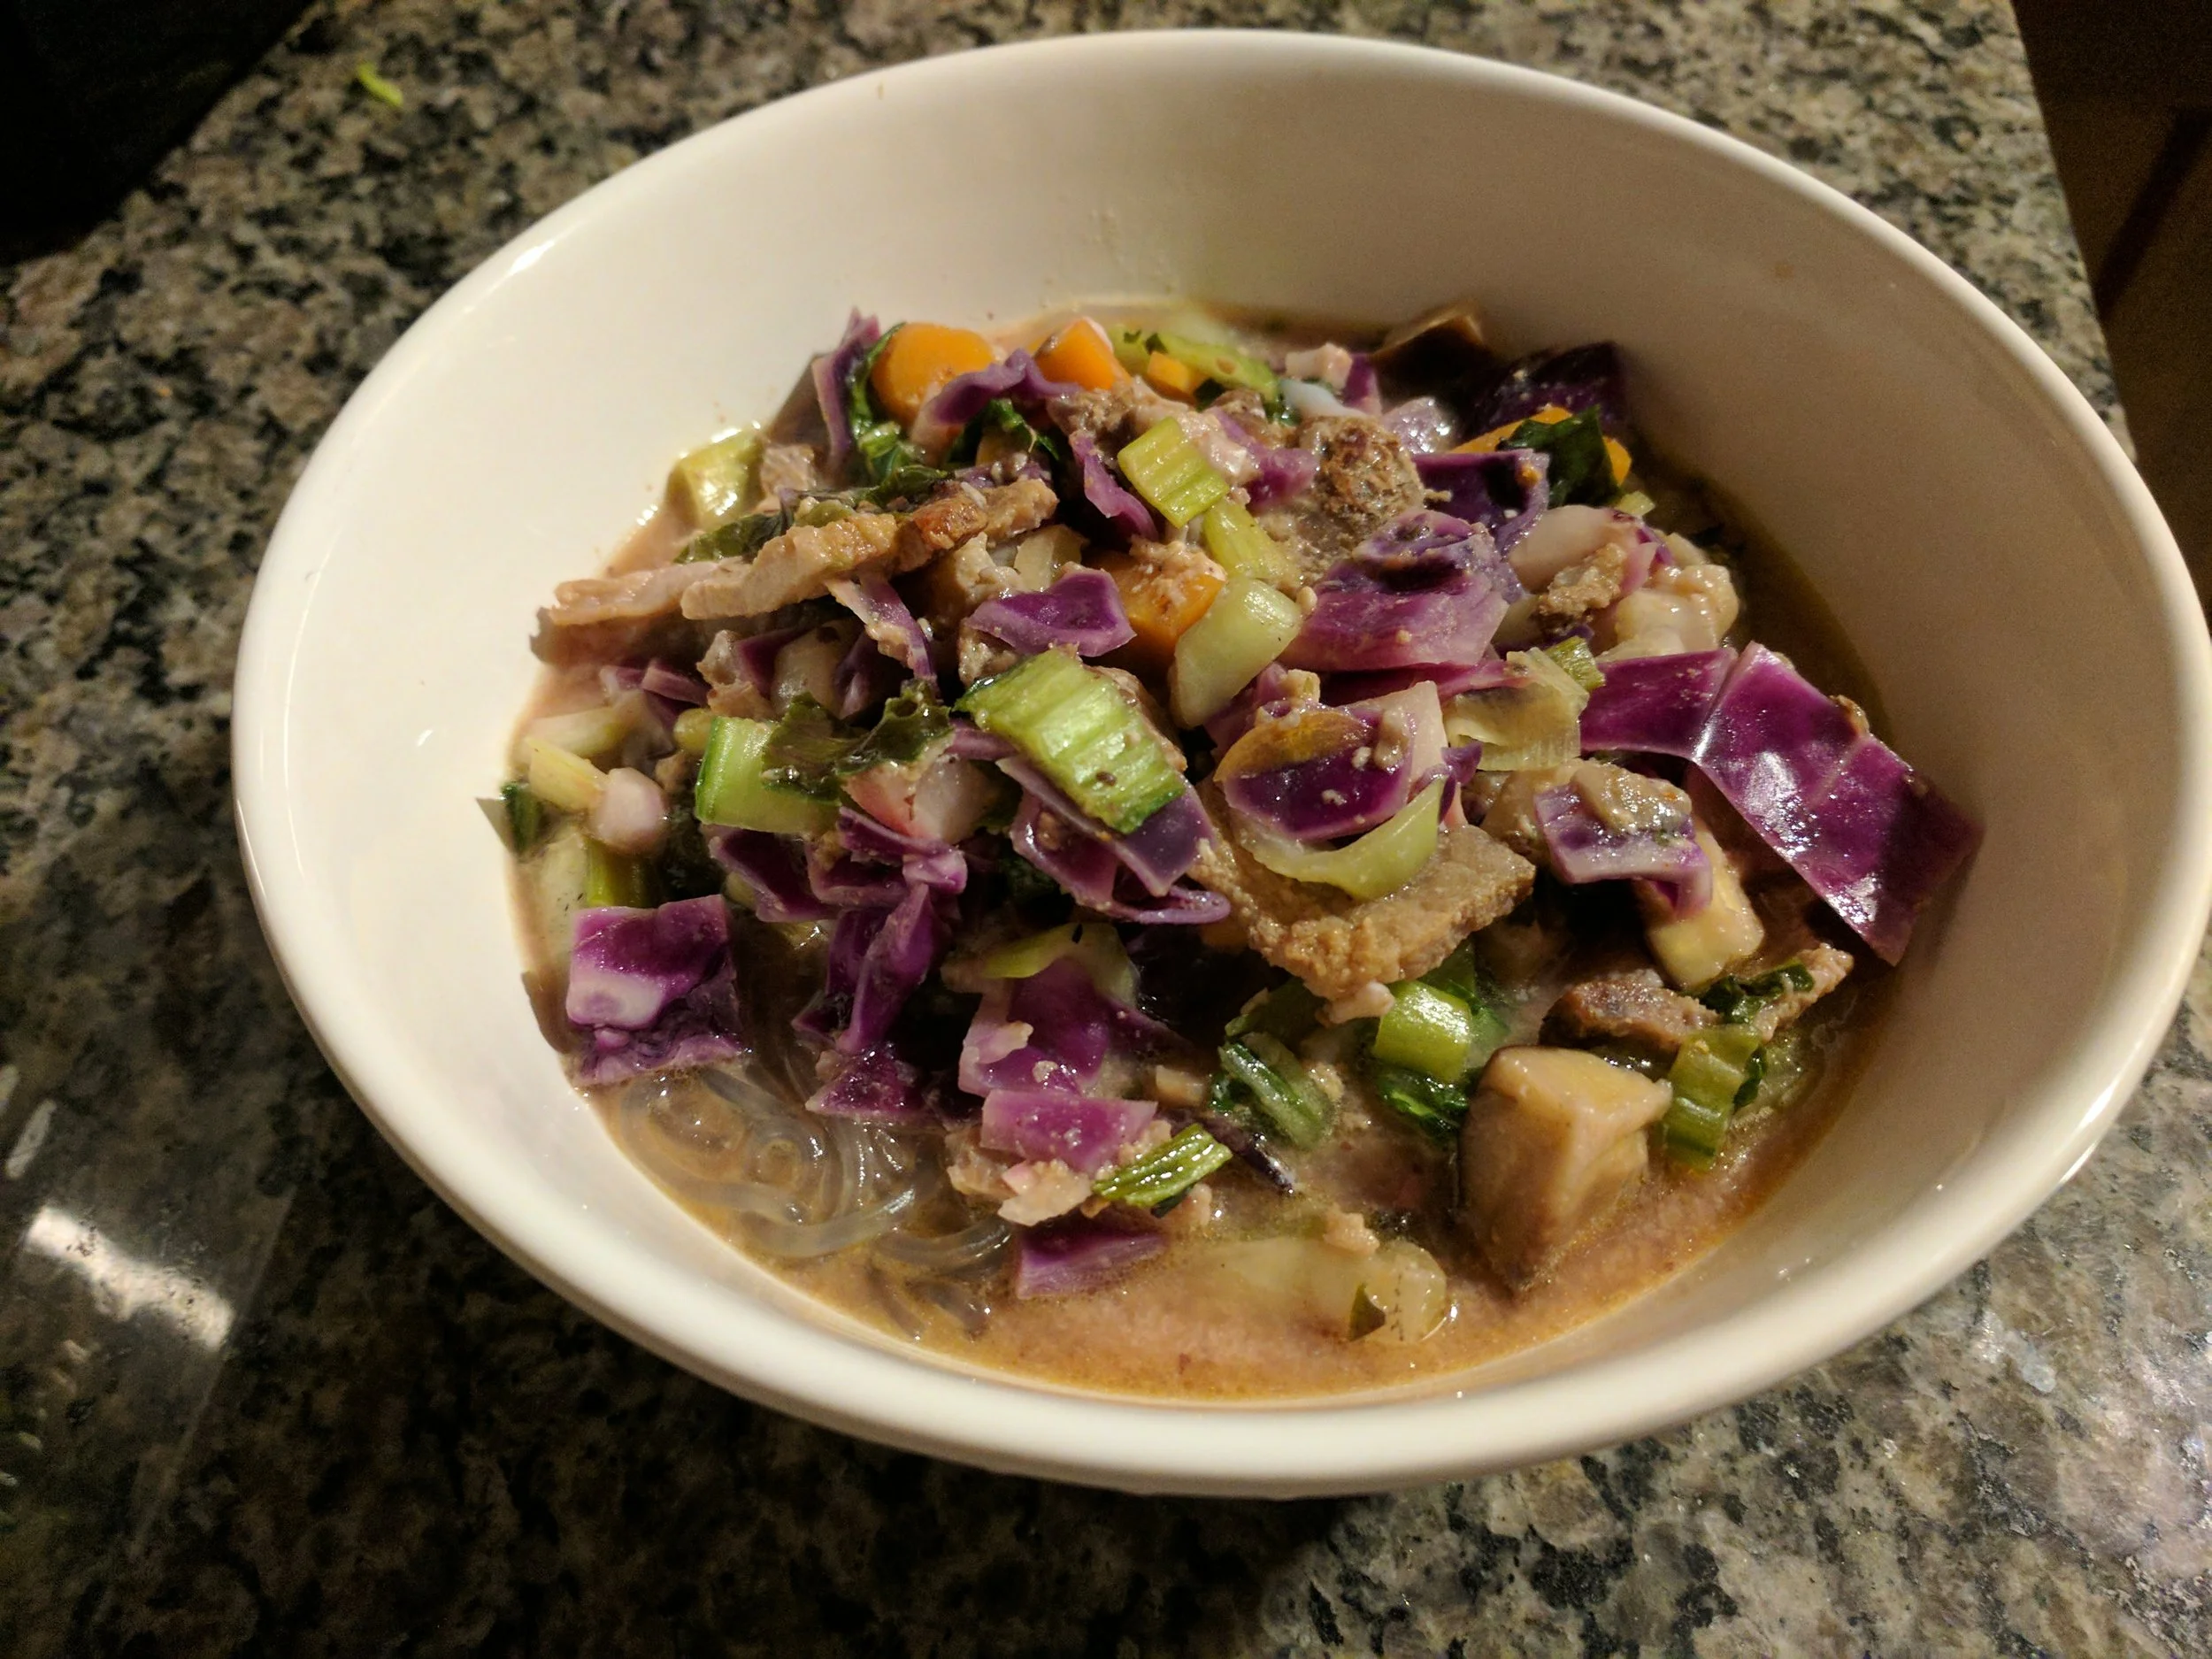
Pork Belly Ramen
Pork Belly Ramen with roasted root vegetables for a well-rounded, balanced dish.
Picture this scenario: You’re out with your friends in the city and you find a Ramen joint. Hell yeah! At last, your childhood dream has come alive! Who wouldn’t want to have Ramen at a restaurant? It’s right in the childhood if you were a 90’s baby like I was. You finish your Ramen, but you feel dissatisfied. Not in the sense of it not tasting good, but your stomach is upset. You feel bloated and full of regret. Your childhood dreams feel like they were crushed. You go home at the end of the evening and have a bowl of Ben and Jerry’s Ice Cream because you feel hungry a few hours later. Oooof! I’m sure we’ve all been there before. It’s like a double whammy because you had so much salt from the ramen and you crave sweet in order to bring your body back into balance. Don’t fret. THIS DOES NOT HAVE TO BE YOU! Why is that you ask? I have this awesome recipe for homemade Ramen that you can make in the comfort of your own kitchen. No need to spend hours driving back and forth to feel sick afterwards. And the best part is that I’m going to provide it to you right here and right now. I bring you my delicious, healthy, homemade Pork Belly Ramen!
Ingredients:
For the Ramen:
2 lbs of Pork Belly **
Oil of choice (for the pork belly)
1 3-inch piece ginger, peeled and diced
6 cups vegetable stock
2 Tbsp tamari or soy sauce, plus more to taste
1 Tbsp white or yellow miso paste (ensure vegan friendliness on package)
1 tsp sesame oil (for flavor), plus more to taste
2 tsp rice wine vinegar or mirin
1 tsp Korean gojuchang sauce (can find in the Asian section at your local supermarket)
8 ounces Ramen noodles (You can get creative here with the noodle choices)
3 eggs, lightly beaten
Green onions (for topping)
Sriracha sauce (for topping)
For the Roasted Root Vegetables:
1 8 oz package fresh shiitake mushrooms, chopped
6-8 radishes, sliced thin
1-2 baby bok choy, chopped
1 medium sized yellow onion, chopped
½ red cabbage, sliced thin
2-3 large carrots, chopped
5 cloves garlic (2 1/2 Tbsp), roughly chopped
Directions:
** Before you prepare anything, I suggest cooking your pork belly the night before because it takes over 2 hours to prepare. I’ve provided a video to help you cook the pork belly properly: https://www.bbcgoodfood.com/videos/techniques/how-roast-pork-belly
1) Chop your veggies. Preheat the oven to 400 degrees F. On a large baking sheet, lay out your veggies on a foiled baking sheet. Cook for 20-25 minutes until the veggies are golden brown.
2) While the veggies are roasting, begin to carve your pork belly into thin slices. Put the thin slices on the stove over medium heat with some oil of choice. Cook in batches until both sides are brown and crispy.
3) Prepare your Ramen noodles. Cook according to package instructions. Drain and set aside.
4) Begin making the broth for the Ramen by putting all of the ingredients (except the eggs) into a pot and simmer on low.
4) When the veggies are done, remove them from the oven, let cool for 5 minutes, and then put them into the broth.
5) Turn up the heat to medium and add the eggs. Stir and cover and let sit for 5-10 minutes until the eggs are cooked through.
6) Serve with the noodles, green onions, sriracha, and pork belly. Enjoy! :)

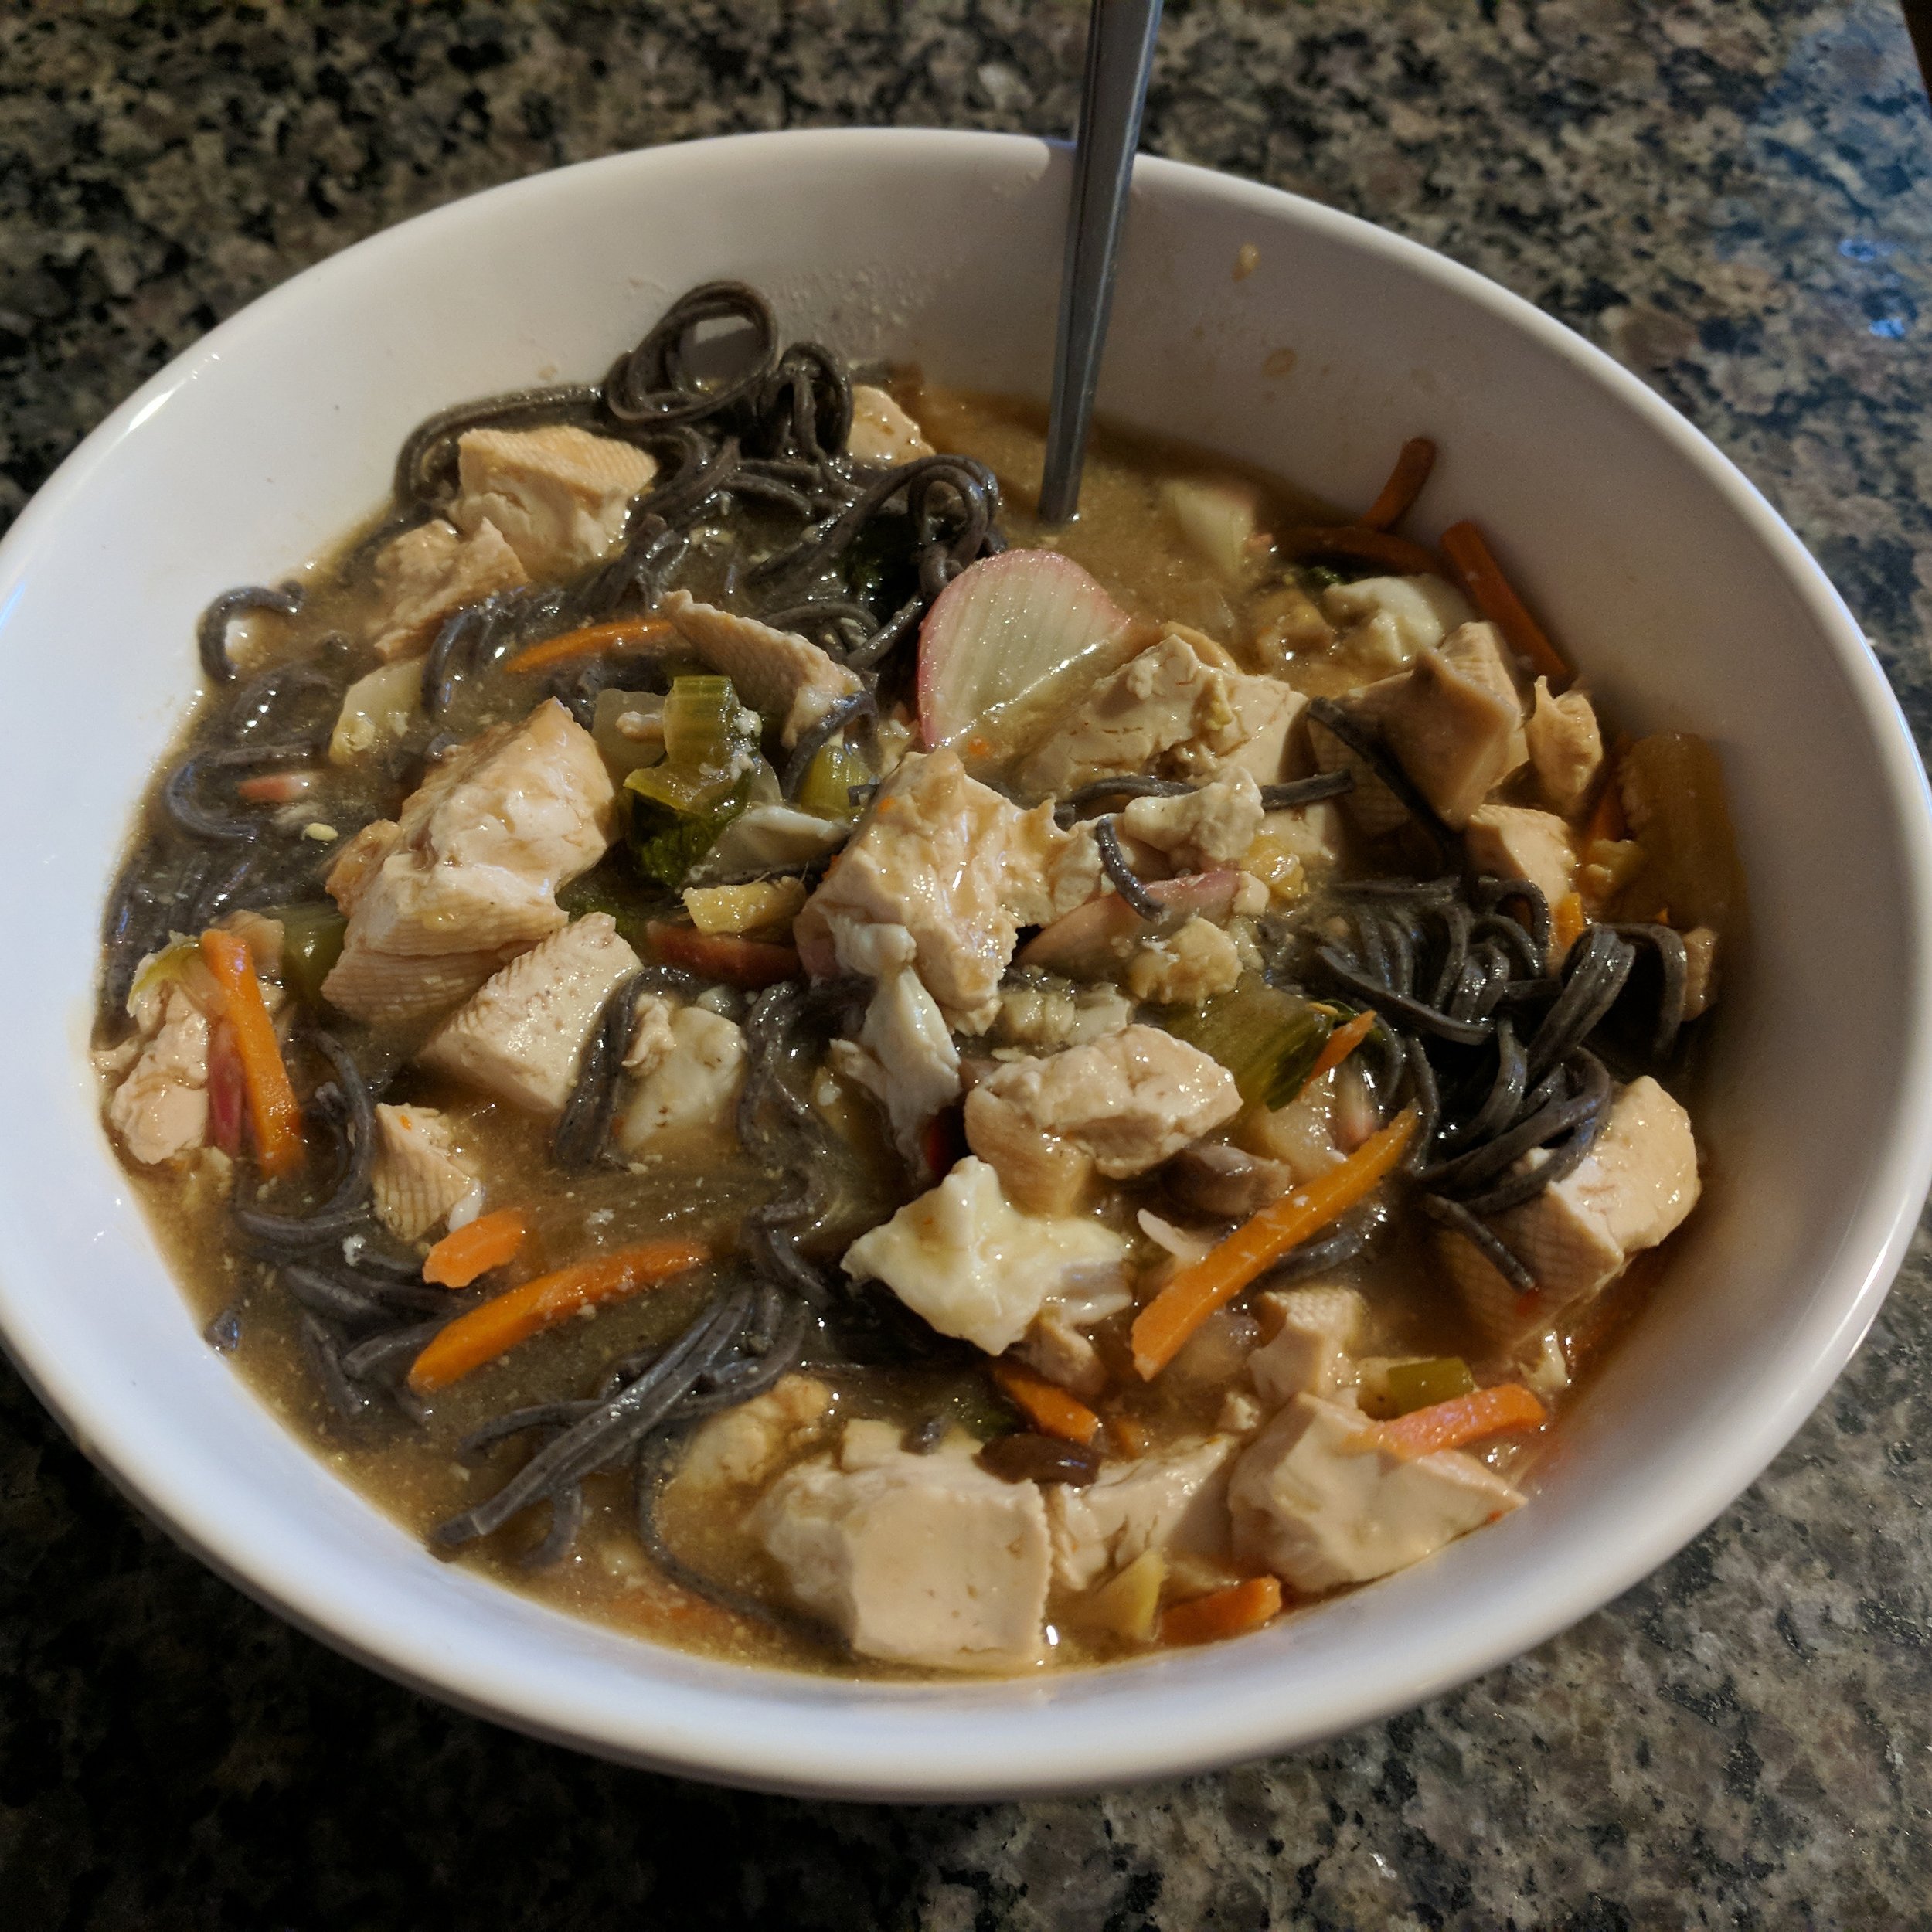
Vegetarian Ramen
Save the $$$ and make your ramen at home instead. Mix and match your vegetables for a heartier, less carby meal.
All this talk about making me feel like a kid again has reminded me on how much we truly are those kids we thought we lost. I remember being a kid and playing outside in the cool, breezy weather almost daily. I went out for a bike ride with my friends feeling the wind blow through my face and hair. I felt like I was so free and like I was flying. I would come back home to the smell of Ramen noodles awaiting me for dinner! So warm and cozy after a day outside! I would cuddle by the fireplace, eat my Ramen, and watch cartoons on a regular basis. I went on to eating Ramen in college, like most of us do, but this time there was a catch. Now that we get older and become not as active due to school and studying, we start packing on pounds. And due to the high carb, high sodium, and low fiber content, we get hungry again very shortly after to go on eating more unhealthy food. Not only that, but a lot of college students and adults feel like they don’t have a lot of time to cook, so they would eat that out of the instant bowl. This may be tasty, but not for our gut that has no idea what to do with the nutrient less pile of noodles. Luckily for you poor college students and time lacking adults, this does not have to be the case anymore! Why not have your ramen and feel full afterwards while not feeling guilty for that piece of chocolate cake you might have for dessert? ;) In under an hour, you can have a beautiful bowl of ramen noodles with delicious maple roasted root veggies and tofu. Who ever said eating this good could be this easy?! Thanks to Minimalist Baker, I have been able to provide this amazing recipe for the best Easy Vegan Ramen ever! Warning: Might need to go for seconds or thirds because it’s so damn good!
Credits to: https://minimalistbaker.com/easy-vegan-ramen/
Ingredients:
For the Ramen:
5 cloves garlic (2 1/2 Tbsp), roughly chopped
1 3-inch piece ginger, peeled and diced
6 cups vegetable stock
2 Tbsp tamari or soy sauce, plus more to taste
1 Tbsp white or yellow miso paste (ensure vegan friendliness on package)
1 tsp sesame oil (for flavor), plus more to taste
2 tsp rice wine vinegar or mirin
8 ounces Ramen noodles (You can get creative here with the noodle choices)
10 oz of “flash fried” tofu (optional) **
3 eggs, lightly beaten (optional) **
Green onions (for topping)
For the Miso Glazed Root Vegetables:
1 8 oz package fresh shiitake mushrooms, chopped
6-8 radishes, sliced thin
1-2 baby bok choy, chopped
½ medium sized yellow onion, chopped
2-3 large carrots, chopped
2 Tbsp miso paste
2 Tbsp maple syrup
2 Tbsp rice wine vinegar
1 Tbsp soy sauce or tamari
Notes:
**For the Tofu: If you decide to make this, cut into rectangles and add 1 heaping Tbsp of arrowroot starch to a Ziploc bag. Add ½ the amount of sauce portions for the glaze into the Ziploc bag to coat the tofu.
**To make this dish vegan, omit the eggs
Directions:
1) Chop veggies and put in a Ziploc bag with all of the ingredients for the glaze. If you want to make the tofu as well, see the notes above. Let it sit for 30 minutes to an hour to let the veggies get a nice marinade.
2) Preheat the oven to 400 degrees F. On a large baking sheet, lay out your veggies and your tofu on a foiled baking sheet. Cook for 20-25 minutes until the tofu and veggies are golden brown.
3) While the veggies and tofu are roasting, begin to prepare your Ramen noodles. Cook according to package instructions. Drain and set aside.
4) Prepare the broth for the ramen by putting all of the ingredients (except the eggs) into a pot and simmer on low.
5) When the veggies and tofu are done, remove them from the oven, let cool for 5 minutes, and then put them into the broth.
6) Turn up the heat to medium and add the eggs. Stir and cover and let sit for 5-10 minutes until the eggs are cooked through
7) Serve with the noodles and green onions. Enjoy! :)

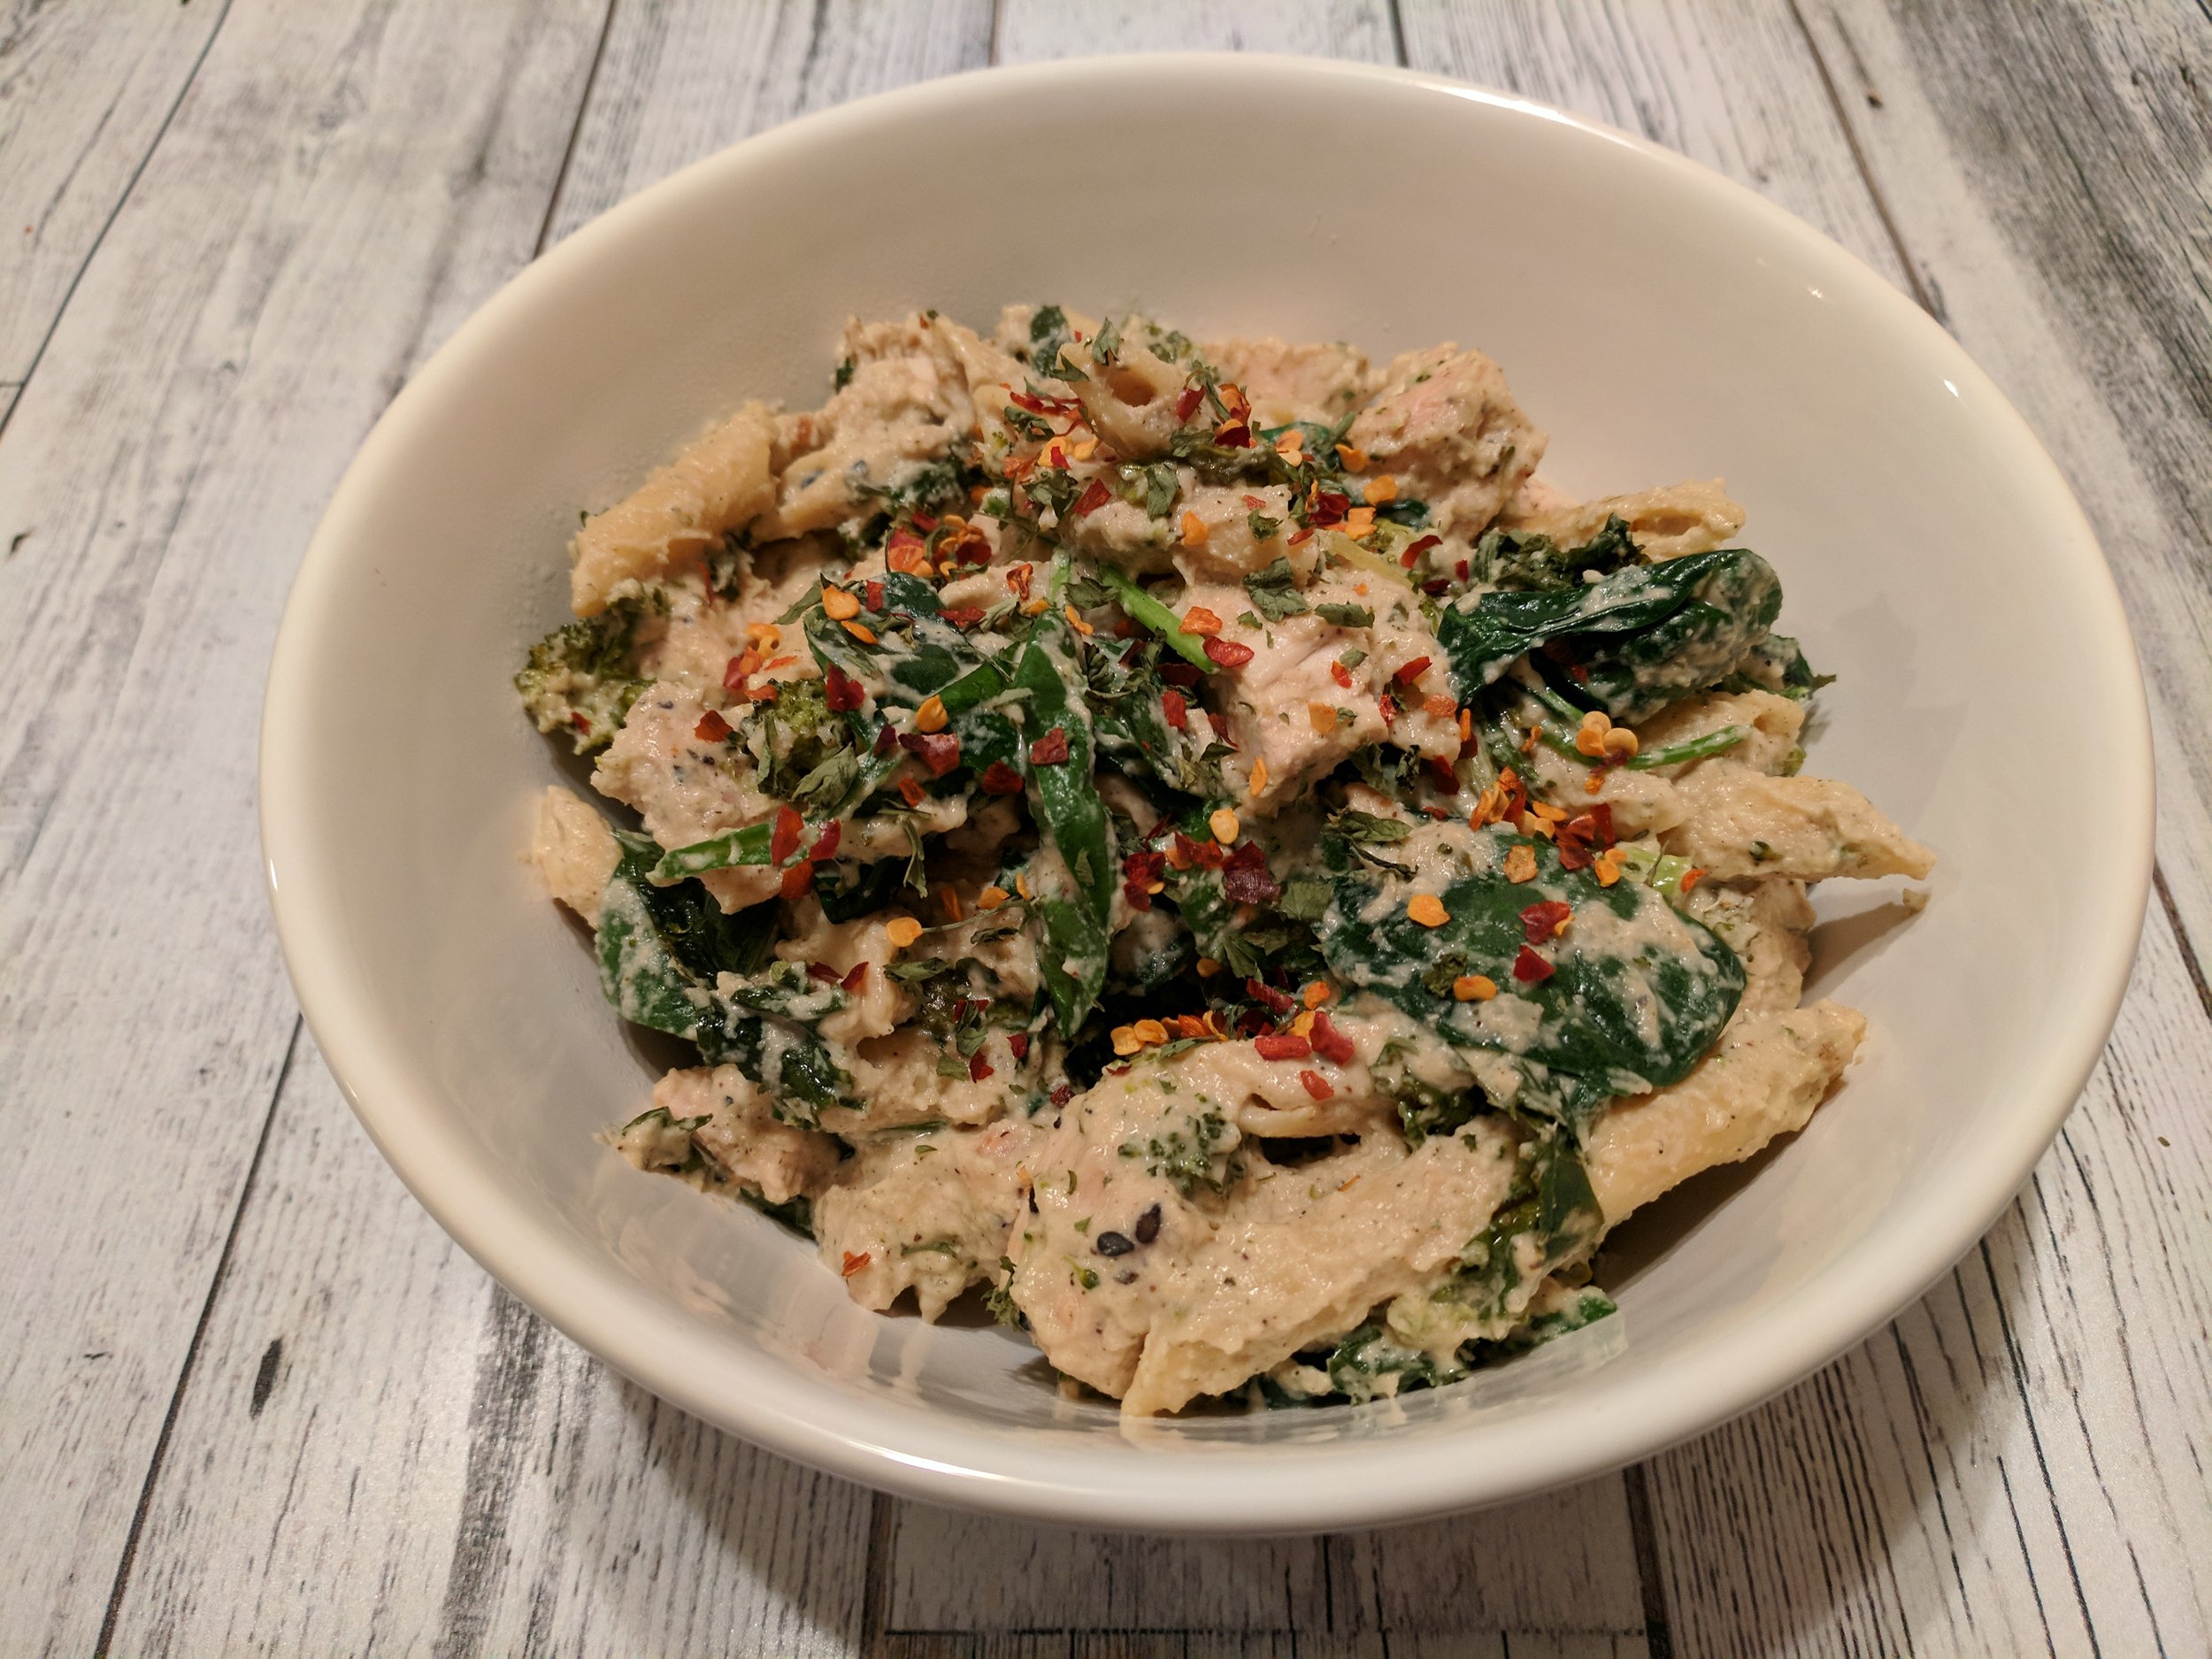
Lightened Up Chicken Alfredo
Chicken alfredo with a cauliflower sauce. A dairy-free alternative to traditional creamy alfredo.
I can’t talk enough about how awesome the holiday weekend was! It was such a magical experience getting to be with my second family. My heart and my body are filled with joy! While all of that was lovely, I will definitely say that my eating has been a bit off since my trip. My chocolate and carb cravings have gone through the roof! But that’s okay because I know that a few bad days are not going to derail me from my lifestyle. Thankfully, I took this weekend to recharge and cook a ton because cooking delicious, healthy food brings my body and my mind joy! I feel so much lighter when I am eating better and I can feel more at ease with life. Not only did I make a ton of soup this week, but I was able to demo my food for people. The look on people’s faces when they light up from eating my food keeps me going to bring better, more wholesome food to the plate every single day. One huge lifestyle change that has helped me lose the weight and keep it off is by crowding out all the processed ingredients for lighter ingredients/more veggies instead. This is what I want to share with the world and this is what I’m able to do. Today, I had the honor of making Chicken Alfredo for a wonderful group of people from start to finish. Who knew that you can take a classic pasta dish that typically has heavy cream and crowd it out with roasted cauliflower? Now you’re getting the hang of this whole crowding out thing and it’s a lot easier than you think! And you get to lose weight while not having to give up your favorite foods! Want to learn more on crowding out processed ingredients in your favorite dish? PM me and I would love to help you! As promised, with the help of Oh She Glows and Minimalist Baker, here is the recipe for my Lightened Up Chicken Alfredo with an added bonus of roasted greens (because they taste so much better that way)!
Ingredients:
Inspired by: http://ohsheglows.com/2014/01/20/cauli-power-fettuccine-alfredo-vegan/ and https://minimalistbaker.com/5-ingredient-vegan-parmesan-cheese/
4 heaping cups cauliflower florets (1 small/medium cauliflower)
2 tablespoons extra virgin olive oil
4 medium cloves garlic, peeled
1/2 cup unsweetened and unflavored almond milk (or non-dairy milk of choice… can also use low-sodium vegetable broth)
1/4 cup nutritional yeast
1 fresh lemon, juiced
1/4-1/2 teaspoon garlic powder
3/4 teaspoon fine grain sea salt, or to taste
1/4-1/2 teaspoon pepper, to taste
Pasta of choice (I used one (8-oz) box of Banza Chickpea Pasta to make this dish gluten-free)
Mixed greens of choice (I used a veggie mix, broccoli, kale, and spinach from my local harvest CSA)
½ medium sweet onion
1 lb of chicken
Fresh parsley and crushed red peppers, for garnish
For the Parmesan Cheese:
3/4 cup (100 g) brazil nuts (I typically use Cashews instead)
2 Tbsp (16 g) pine nuts
1 Tbsp (10 g) hemp seeds
1/4 cup (12 g) nutritional yeast
3/4 tsp sea salt
1/4 tsp garlic powder
Directions:
1. Preheat your oven to 350 degrees. Cut up all of your greens and cauliflower into florets. Cut your onion as well. It doesn’t really matter how your cauliflower or onion cut, since they will be going in the sauce. Peel your garlic and place onto a baking sheet with tin foil. Place your chicken on a separate baking sheet with tin foil.
· **Note: I also squeezed my lemon onto the veggies, but you can wait until the sauce if you want. It’s totally up to you!
2. Pour olive oil over your veggies. Season your chicken and veggies with salt, pepper, and garlic powder. Place in oven for 30 minutes.
3. While your veggies and chicken are roasting, combine all of the ingredients for the Parmesan Cheese into a high powered blender (I use a Vitamix).
· **Note: If you don’t have a high powered blender, use a food processor or soak the nuts overnight and let them dry before blending with the rest of the ingredients.
4. Bring a large pot of water to a boil. Add your desired amount of pasta and boil for the time instructed on the package. Drain pasta.
5. When the veggies and chicken are all done, remove them from the oven and begin making the sauce. Combine your cauliflower, almond milk, onion, garlic, ½ cup parmesan cheese, nutritional yeast, and your lemon (if you haven’t used it already) in your blender and blend until smooth. Cut your chicken into cubes.
6. Combine roasted veggies, chicken, pasta, and sauce to your pot where the pasta was and stir until the sauce is mixed all the way through.
7. Top with parsley and crushed red peppers and enjoy! Serves 4-6 depending on how hungry you are!

3 Bean and Veggie Crock Pot Chili
A simple chili with minimal prep. Let the crockpot do all the work and come home to your house smelling amazing.
Have a bunch of veggies you don’t know what to do with? An easy option is to throw everything into a crockpot and make a chili out of it. With minimal prep, all you have to is let the crockpot do the magic. By dinner time, your house will smell like a fresh garden. You will be excited to eat dinner with a full-spectrum of colors in your bowl. This chili won’t have you feeling heavy afterwards because there is no heavy meat or cream in here. It freezes well, so you will have leftovers for days where you don’t want to cook. Find the recipe below:

Ingredients:
3 cans of beans of your choice (I used chick peas, black beans, and a 3 bean blend)
1 medium sized sweet onion, chopped
4 medium sized carrots, chopped
4 stalks celery, chopped
1/2 carton of portobello mushrooms, chopped
1 14 oz can of diced tomatoes or 3 large tomatoes, diced
1 6 oz can of tomato paste
5 cups of vegetable broth (or water)
3 cloves of garlic, minced
2 T. chili powder
1 T. paprika
1 T. cumin
1 tsp oregano
1 tsp basil
Salt and Pepper (to taste)
Toppings (optional):
Lime
Avocado
Cilantro
Tabasco Sauce
Cheese
Crackers
Directions:
1) Chop all the veggies with garlic and put them in the crock pot.
2) Open, drain, and rinse the cans of beans and put them in the crock pot.
3) Put the tomato paste and spices in the crock pot.
4) Set your crock pot to low for 8 hours or high for 4-5 hours. Make sure the veggies are soft before it is done.
5) When it is all done, top with desired toppings and enjoy the smell of the food in your kitchen! Also, enjoy the tons of leftovers!
Are you looking for any more recipes that you can easily make in a pinch that are healthy and for the whole family? Post your email in the comments below and I will send you a FREE gift of 5 tips to make easy, healthy, "fast food" as well as two of my favorite recipes that have helped me along my journey!

Lentil Stew
A hearty stew with lots of veggies that will warm your soul during the cold months.
It’s been quite a rainy day today in Chicago. All I’ve wanted to do is stay inside, cuddle, and read a good book. Maybe a bit tempted to go dance in the rain! While I love doing all those things, it can be really easy to get into a lazy funk on these days (I’ve been there), it can also be used as a great opportunity to make a delicious home cooked meal with your family to enjoy on a night in like this one. With some help from Radical Root Farms, I prepared a fresh veggie and lentil stew. It has all fresh, organic veggies straight from their garden like swiss chard, potatoes, fennel, and scallions. Mix in some spices and some veggie broth to have yourself a delicious, easy, healthy lentil stew. The recipe is as follows:

Ingredients:
2 cups of lentils
4-5 cups of vegetable broth (or water)
2 cups of fresh veggies of your choice (feel free to use more if you like)
Spices:
1 tsp salt
1 tsp pepper
1 tsp of garlic salt or use 2-3 cloves of fresh garlic
1 tsp celery seed
1 tsp celery salt
Direction:
1) Preheat oven to 400 degrees.
2) Chop all your veggies into cubes.
3) Put them on a baking sheet with foil and pour 2 tsp of olive oil on the veggies.
4) Season with more salt, pepper, and garlic.
5) Cook veggies for 40 minutes.
6) While the veggies are in the oven, grab a pot and combine the lentils, broth, and spices.
7) Turn the stove on to medium and let it come to a boil (~10 minutes).
8) Once it’s boiling, cover it up and let it simmer while your veggies are roasting.
9) Once the veggies are done, take them out of the oven and combine them with the stew. Feel free to add some more broth if it starts to look dry.
10) Enjoy!
I hope you enjoy my recipe! Comment below your version of my delicious stew! I can’t wait to see your creations below!

Vegan Mac & Cheese
Mac and Cheese using a cashew cheese sauce and roasted veggies to make this dish vegan friendly.
Who doesn't love mac & cheese?! I personally grew up on that stuff as a kid and in college with it being a huge part of my diet. I’m sure most of us can say the same. However, with all of the food sensitivities we're seeing in our society in this day and age, we can’t eat the same foods we used to anymore without feeling bloated, heavy, and miserable. Luckily, this doesn’t have to be the case anymore. Give that old story a rest with this delicious recipe that is not only gluten and dairy free, but contains tons of veggies and protein. Who says you can’t eat your old childhood favorites anymore?! Now, you can enjoy this delicious vegan mac & cheese with my recipe below:
For the cheese sauce:
1 1/2 cups raw cashews
3 T. fresh lemon juice
3/4 cup water or veggie broth
1/4 cup + 1 tbsp nutritional yeast
1 tsp. chili powder
1 tsp. paprika
½ tsp. cumin
4 cloves garlic
pinch of turmeric
pinch of cayenne pepper
1 tsp. Dijon mustard
Salt and pepper to taste
For the Mac & Cheese Casserole
16 ounces of pasta of choice (I like Banza chickpea pasta for a gluten free option)
Roasted veggies (feel free to go totally HAM on this… the more the merrier)

Directions:
1) If you decide to roast veggies, preheat the oven to 350 degrees F. Start preparing all of your veggies. I personally like to do onions, peppers, mushrooms, broccoli, and spinach.
2) Put all of the chopped veggies (minus the spinach) on a baking sheet with tin foil under it and drizzle some olive oil, salt, and pepper on your veggies.
3) Put them in the oven for 30-35 minutes (I like them well done, so feel free to do it for 40 minutes if you decide to use a lot of veggies) and begin cooking the water for your pasta until it comes to a boil.
Feel free to sauté the veggies instead if you are short on time instead of using the oven.
4) While your veggies are roasting, make your “cheese” sauce by adding all of the ingredients to a high powered blender (Vitamix for example) and blend on high until smooth and creamy. No worries if you don’t have a high powered blender. You can use a food processor or blender to process the cashews first. Once they are processed, add them in with the rest of the ingredients and process until smooth.
5) Once the water for your pasta is brought to a boil, add the noodles until they are fully cooked according to the directions on the box (~10 minutes or I’ll taste it to make sure they are al dente). When they are done, drain/rinse the pasta and return your pasta to the pot to be mixed with your cheese sauce. Feel free to add the spinach too at this time.
6) When your veggies are all done roasting, take them out of the oven and mix everything together. Then, pour the mac & cheese into an 8x8 square dish. Feel free to garnish with black pepper and paprika.
7) ** Optional: Bake for 30 minutes (still at 350F) and let it cool for 5 minutes before serving.
8) Enjoy!
Do you want help making some of your childhood favorites that are healthy and taste good? Contact Rachel to see how we can work together!


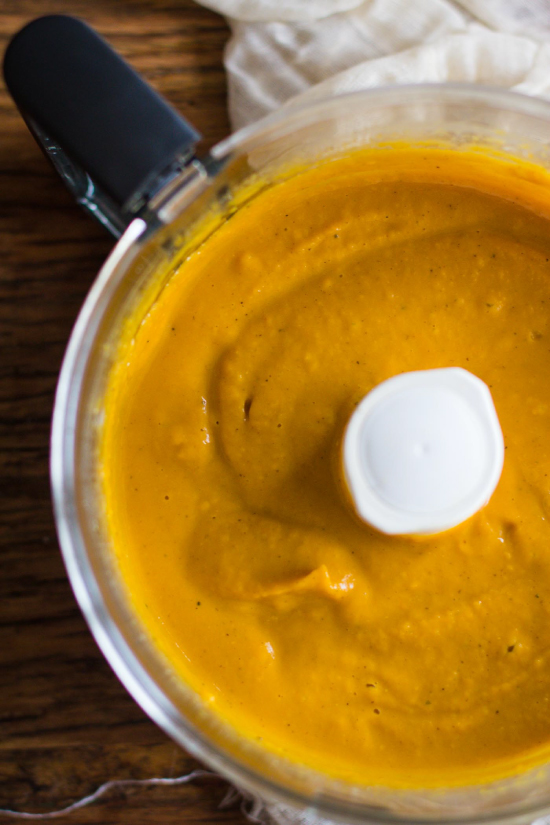
Smoky Butternut Squash Pasta and Greens
Mac & cheese with veggies? Yes please!
Mac & cheese with veggies? Yes please! Who would have ever thought we could have our same childhood staples transformed into a healthier, lightened up dish?! With butternut squash pasta sauce, now you and your children can enjoy this delicious dish without even realizing you are eating vegetables. Take a look at this recipe for butternut squash pasta with greens below:
For the sauce:

1/4 cups raw cashews
1 (3.5-4 lb butternut squash, halved, seeds removed
1 T. fresh lemon juice
3/4 cup water or veggie broth
2 tbsp. nutritional yeast (optional, but recommended)
1 tsp. chili powder
1 tsp. paprika
3 cloves garlic
1/8 tsp liquid smoke
pinch of cayenne pepper
hot sauce to taste
Salt and pepper to taste
For the Mac & Cheese:
16 ounces of pasta of choice (I like Banza chickpea pasta for a gluten free option)
Roasted greens: broccoli, kale, and/or any other veggies you like (feel free to go totally HAM on this… the more the merrier)
Directions:
1) Preheat the oven to 425 degrees F and line a baking sheet with parchment paper. Slice your squash in half, remove seeds, and roast the two halves face up with olive oil. Roast for 30-40 minutes until squash is fork tender. Let cool for at least 5 minutes.
2) While your squashis roasting, make your “cheese” sauce by adding all of the ingredients to a high powered blender (Vitamix for example) and blend on high until smooth and creamy. No worries if you don’t have a high powered blender. You can use a food processor or blender to process the cashews first. Once they are processed, add them in with the rest of the ingredients and process until smooth. Set aside.
3) Chop and sauté your greens as well as begin the water for your pasta.
4) Once the water for your pasta is brought to a boil, add the noodles until they are fully cooked according to the directions on the box (~10 minutes or I’ll taste it to make sure they are al dente). When they are done, drain/rinse the pasta and return your pasta to the pot. Combine the pasta with your mixed greens.
5) When your squash is all done roasting, take it out of the oven. Take 2 cups of the cooked squash and pour it into the blender with the rest of the “cheese” sauce. Blend together until smooth.Feel free to dice the remainder of your squash to use with your pasta.
6) Combined sautéed veggies and pasta with the desired amount of “cheese” sauce. Cook over medium until heated throughout and serve immediately.
7) Enjoy!
Do you want help learning how to eat your veggies without feeling like you’re eating them? Comment below to see how we can work together!